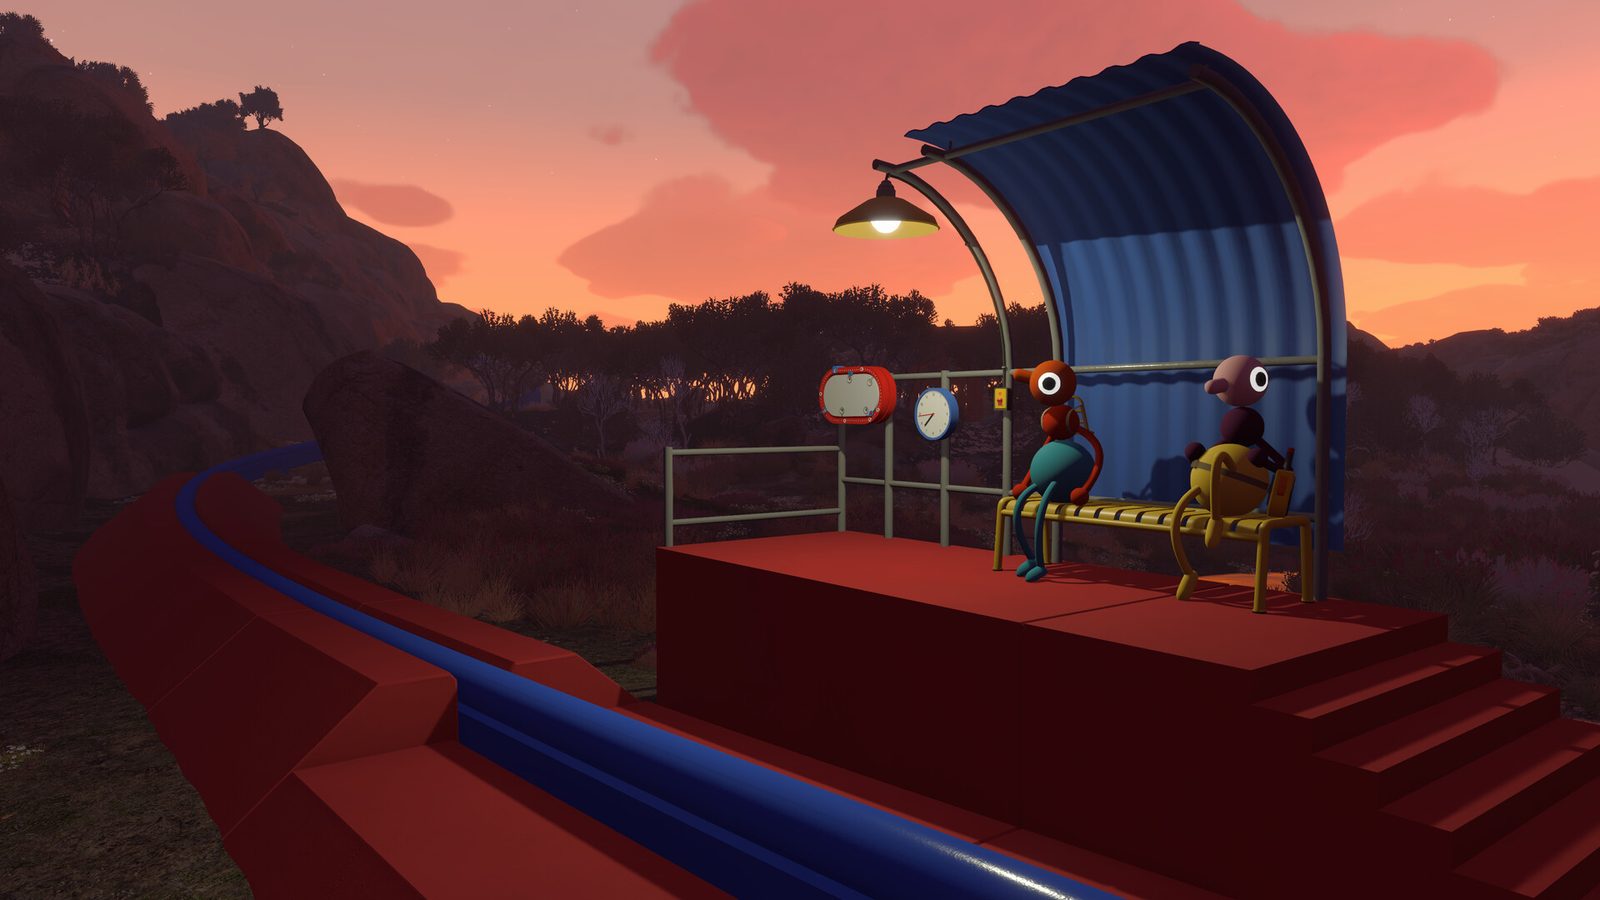
Big Walk is not a linear puzzle game, so a classic step-by-step walkthrough does not quite fit it. The game is a cooperative walking adventure: progression comes from keeping your party together, talking, and using the signalling tools, not from fighting or skill checks. This guide gives you the verified route order — every zone confirmed in the release build, sorted by its internal label — plus the tools and habits that carry a party from Intro Valley to the Far North.
Launch-week honesty note: this page lists verified zones, route stages and system facts. It intentionally does not spoil individual puzzles or endings beyond the two solution sets we have already gathered: the Crosswalk Red Bridge’s four gourd puzzles and the Red Tower’s five puzzles — both live on the Red Tower & Map Room solution guide. Solutions for the other towers (Green, Blue, Yellow, Black) are still being gathered as the community plays.
The verified route order
Every confirmed zone in the release build, in internal label order. Zones with gaps in the numbering (06–20, 24–29, 37–40, 46–49, 55–59, 66–70, 75–79, 84–98) are not yet documented — they either use different naming or have not been confirmed by the community.
| # | Zone | Region | Guide |
|---|---|---|---|
| 01 | Intro Valley | Starting area | zone page |
| 02 | West Coast Headlands | Headlands | zone page |
| 03 | Red Cone Ridge | Ridge | zone page |
| 04 | Sports Valley | Southern valleys | zone page |
| 05 | Opt Tele Ridge | Ridge | zone page |
| 08 | Green Tower Yellow Diffuser Ridge | Ridge | zone page |
| 21 | Southern Valley | Valley | zone page |
| 22 | Southern Ridge | Ridge | zone page |
| 23 | Southern Plateau | Plateau | zone page |
| 30 | East Coast Headlands | Headlands | zone page |
| 31 | Hot Zone Coastal | Coast | zone page |
| 32 | Hot Zone Ridge | Ridge | zone page |
| 33 | Sealers’ Valley | Southern valleys | zone page |
| 34 | Blue Tower Ridge | Ridge | zone page |
| 35 | Five Mile Valley Green Diffuser | Valley | zone page |
| 36 | Black Tower Ridge | Ridge | zone page |
| 41 | Yellow Tower To Vereker Ridge | Ridge | zone page |
| 42 | High Plateau | Northbound route | zone page |
| 43 | North of Vereker | Vereker | zone page |
| 44 | Airfield Valley | Valley | zone page |
| 45 | Hub Ridge | Northern valleys | zone page |
| 50 | Peak Centre | The Peak | zone page |
| 51 | Peak South West | Island | zone page |
| 52 | Peak South East | Island | zone page |
| 53 | Peak North East | Island | zone page |
| 54 | Peak North West | Island | zone page |
| 60 | Big Wall | The Wall | zone page |
| 61 | North of the Wall | The far north | zone page |
| 62 | Big Drift Surround | Island | zone page |
| 63 | Orb Ridge | Ridge | zone page |
| 64 | Far North Ending Area | The far north | zone page |
| 65 | Goodbye Gate | The far north | zone page |
| 71 | Intro River | Starting area | zone page |
| 72 | Sports River | River | zone page |
| 73 | Southern River | River | zone page |
| 74 | Sealers River | River | zone page |
| 80 | Terrain North | Terrain | zone page |
| 81 | Terrain East | Terrain | zone page |
| 82 | Terrain South | Terrain | zone page |
| 83 | Terrain West | Terrain | zone page |
| 99 | Secret Zone | Unverified | zone page |
A seven-stage route through the island
Grouped from the build labels, here is a sensible walking route — the way the numbers themselves suggest the island is meant to be crossed. All party sizes from 2 to 12 can follow it; bigger parties just need louder planning.
Stage 1 — The start (01–05)
Intro Valley → West Coast Headlands → Red Cone Ridge → Sports Valley → Opt Tele Ridge.
Intro Valley is the lowest-labelled zone in the build (01_IntroValley), which makes it the natural first beat of any guided walk. The official key art shows a coastal valley, the closest visual match to this opening area. It pairs with Intro River (71) as a valley-plus-river unit. From the coast, the headlands and ridges climb away to the south and east.
Stage 2 — The southern highlands (08, 21–23, 30–36)
Green Tower’s ridge, then the Southern Valley → Ridge → Plateau stack, then the east coast: East Coast Headlands, Hot Zone, Sealers’ Valley and the tower ridges (Blue, Black, Five Mile). This is the largest stretch of the island, and the most tool-dependent — keep signalling tools handy.
Stage 3 — Heading north (41–45)
Yellow Tower To Vereker Ridge → High Plateau → North of Vereker → Airfield Valley → Hub Ridge. The number jump from 36 to 41 marks a clear second “chapter” of the island. Vereker is the named landmark of the northbound route; Hub Ridge is exactly what its name says — a hub of northern valleys.
Stage 4 — The Peak (50–54)
Peak Centre surrounded by four shoulder zones (SW / SE / NE / NW). The Peak is the highest point of the island and a natural navigation landmark: if you can see it, you can orient the whole walk.
Stage 5 — The Wall and the Far North (60–65)
Big Wall → North of the Wall → Big Drift Surround → Orb Ridge → Far North Ending Area → Goodbye Gate. The ending zones carry the most evocative names in the build. We deliberately do not spoil what happens here — see the no-spoiler ending hints on the zone pages. Note the labels 61–65 are a tight cluster: the finale is compact.
Stage 6 — The rivers (71–74)
Intro River, Sports River, Southern River and Sealers River mirror the southern valleys. The river zones are labelled after the main island zones (71–74 vs 01–74), which suggests they are companion routes — good for parties that want a water-level traverse back across the island.
Stage 7 — The terrain quartet (80–83)
Terrain North / East / South / West. These four zones wrap the island’s outer terrain band. Their labels (80s) place them after the rivers, but no official walking order is published — many parties treat them as the outermost ring and cross them when moving between the other stages.
The Secret Zone (99)
Label 99_SecretZone exists in the build but is marked Unverified — evidence is not yet solid enough to describe it. If you find it, the zone page links back here and we will update the route.
The walkthrough toolbox
Progression in Big Walk is about communication tools more than health bars. These are the confirmed items, loosely grouped by what they are known to do:
- Communication: walkie-talkie (voice + text chat), field-radio, megaphone. See proximity chat for how the chat system works.
- Visual signals: signal-flags, flare-gun, laser-pointer, flashlight.
- Look ahead: binoculars, telescope.
- Carry and organise: backpack, holster.
- Everything else confirmed in the item list: microphone, cowbell, volleyball, whiteboard, gourd, buoy, key-piece, golden-head — each has its own item page with what the build shows about it.
Not every tool appears in every stage — and some are optional fun. The tier list gives a party’s-eye ranking; the signalling tools guide explains the radio-style rules when players get separated.
Puzzles and challenges — solutions hub
Big Walk scatters cooperative challenges across the wilderness: locked gates, relay switches, line-of-sight riddles, timing sequences and multi-room trials that only make sense when players share information in real time. The challenges guide explains the patterns without listing solutions — and the pattern-level theory lives in the puzzle solutions guide.
Already solved (full step-by-step):
- 🟥 Red Tower & Map Room — all five Red Tower puzzles (Silent Room, Beach Maze, Basketball Hoop, Cannon Timer, Mountain Overlook Gesture) plus the Crosswalk Red Bridge’s four gourd puzzles, the golden key route and the five key cutters: Red Tower & Map Room solution.
Still growing: solutions for the Green, Blue, Yellow and Black towers are being confirmed as the community plays. If your party solves one, the challenges guide shows how submissions get verified.
How long is the walk?
The developers have not published an official completion time. Community estimate from the design — a large island, multi-session walks, relaxed pace — is roughly 4–8 hours for a first relaxed walk and 6–12 hours if you explore every area. See how long Big Walk takes for the full breakdown.
What is verified vs what is still growing
- ✅ Verified: zone names, build labels (01–99), region grouping, item list, route order as suggested by labels — from the release build and official sources.
- 🔍 Growing: puzzle solutions for the Green, Blue, Yellow and Black towers, exact ending beats, and the unverified Secret Zone — none of these are treated as facts until confirmed by play or by House House. (The Red Tower and Crosswalk Red Bridge solution sets are confirmed and live on the Red Tower guide.)
This page is updated as the community maps more of the island. Bookmark it before your first walk — then bring friends.